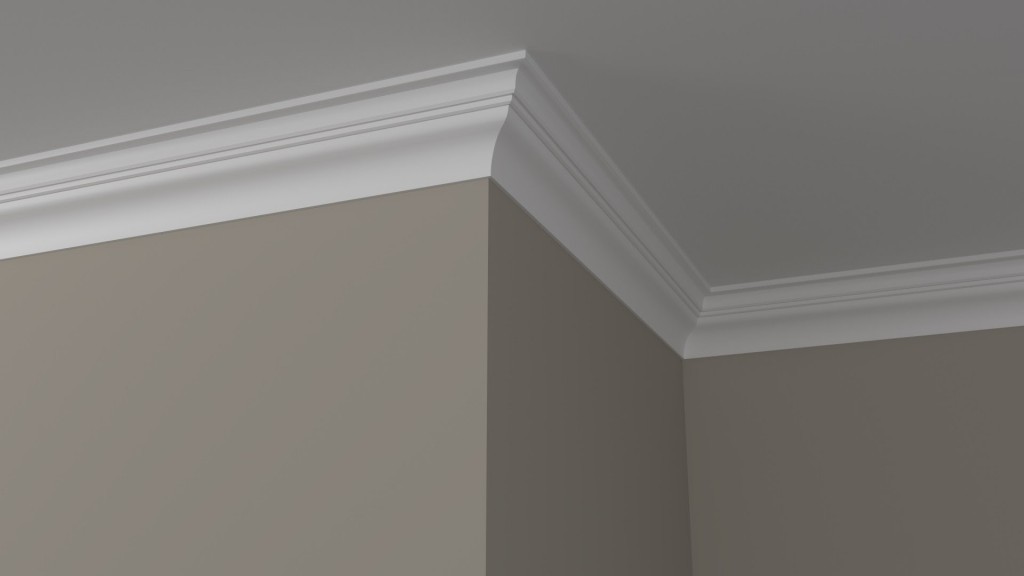
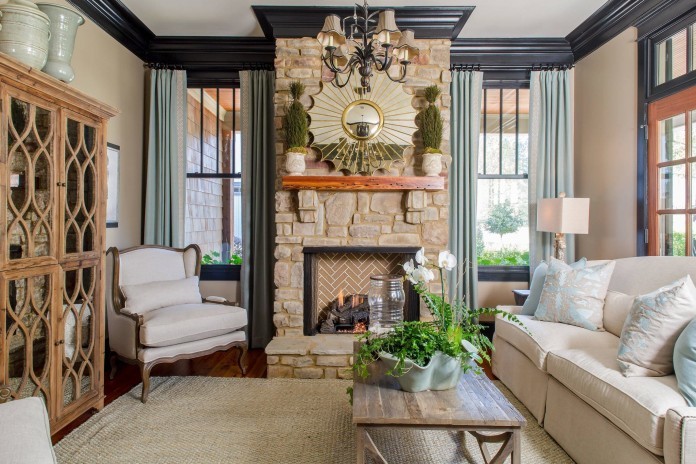
Getting Your Crown Molding Installed Yourself is Simple
Whether you’re performing a full room remodel or recently added new cabinets, you may be considering getting a room fully installed with crown molding in order to match. If you installed molding in one room, you may have even decided to extend it into adjoining spaces. If you want to save costs, you can get your molding installed by following the steps below to end up with a professional and appealing final product that makes your rooms look great.
You don’t need much in order to get started. You’ll need the molding, of course! Be sure that you’re getting the right kind as there are multiple types of moldings, chair rails, and baseboards that may look similar to each other. You should also have on hand painting caulk, access to a miter saw, a ladder, hammer and nails, and a tape measure. You can choose between wood and MDF material for your molding. You will want to avoid MDF for areas with moisture buildup such as a kitchen or bathroom (MDF can warp when subjected to humidity). Otherwise, it is a fairly inexpensive alternative to wood.
Installation Steps for Installing Crown Molding

1. You will begin by cutting the molding’s corners. This is a bit more challenging than other steps, as molding cannot simply be cut like most trim. It has to sit at harsh angles between your ceiling and walls. A miter saw will do, but if you don’t have one you can rely on a regular hacksaw or coping saw for the work. In the event that your cuts leave some small gaps in the corners, you can always fill them with a bit of caulk at the join and it will be hardly visible.

2. Take measure of your wall. Use this measurement for your piece of crown molding’s cut. Marking the wall out to show lengths and Measure and mark the wall. Measure the wall for the length of your first piece of molding. Mark the wall to show the bottom edge of the molding.
3. With your length measured, make your first cut in order to get a piece that should extend straight from one wall to button to the next. You can accomplish this easily with a miter saw or coping saw by cutting the piece in a straight 90° angle.
4. Next, for a side wall, you will make the same length measurements. However, you want to cut the end at a 45° angle so that it will fit over your first piece where they meet in the corner. This step is where having a miter saw handy really shines.

5. Continue making your cuts and measurements until you are ready to place your pieces. Alternating between full length molding with 90° cuts & your inserts with 45° cuts, you will wind up with all of your future molding arrayed and ready for installation. With a little bit of help holding them up, you can press them into the wall and then apply caulk. Make sure that it is painting caulk!


