Your kitchen cabinets are naked without it
The most important detail and finishing touch for kitchen cabinets is known as molding. It creates a look that appears entirely customized. It enhances the kitchen’s overall aesthetic making it polished and eloquent. Familiarize yourself with the several types that are  available. It’s as if the options are limitless – depending on the design type you choose. Among the most common molding types are crown molding, light rail, base, corner and more.
You will find crown molding at the tops of tall and wall cabinets. It’s designed to be the finishing element gracefully flaring out at the top edges. It is available in hundreds of profiles and can be stained, painted or even left in its natural state. Typically it will match the finishing of the cabinets they adorn. Once somewhat difficult to nail in place, the newer styles of molding are designed to be quite easier to install. It is made to accommodate different cabinet designs and heights.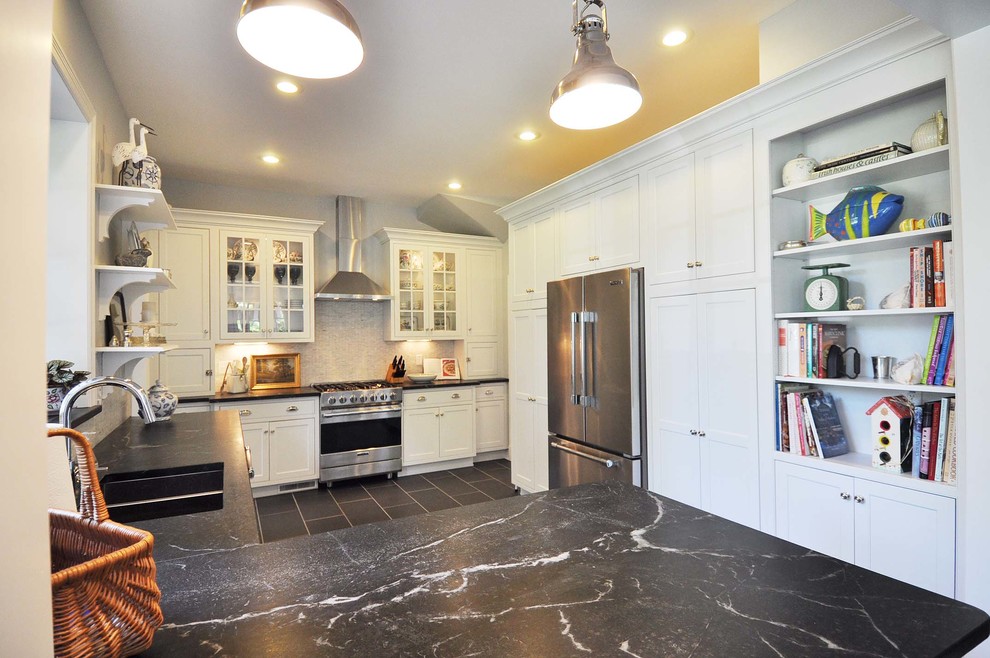
Starter molding or riser molding is used to support crown molding and acts as a filler. It’s used when the height of the crown molding itself isn’t large enough to reach the edge of the ceiling. So the riser serves as a crown molding frame, giving it the additional girth that allows it to rise and be flush with the ceiling. It is mounted to the cabinet top and essentially simulates an extension of it. It provides a sleeker look that is preferable to stacking crown molding.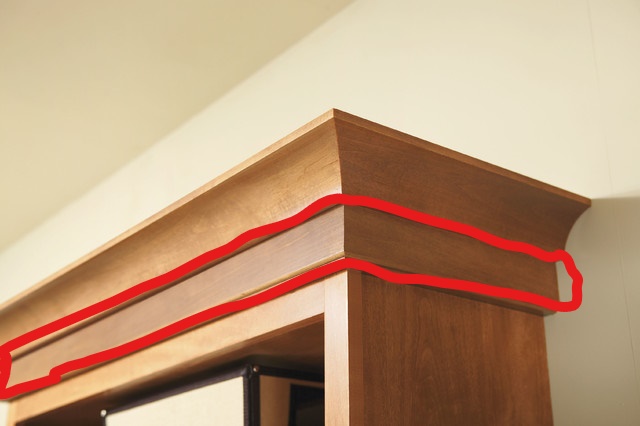
Finishing the bottoms of wall cabinets, light rail molding often doubles as trim that actually conceals lighting fixtures installed underneath the cabinets. They can serve as a barrier between the light glare and outside sun or strictly as decoration. There are plenty of sizes and styles ready to accommodate the various designs of cabinets. Always check the height of light rail molding; you don’t want it to obstruct anything on the countertop.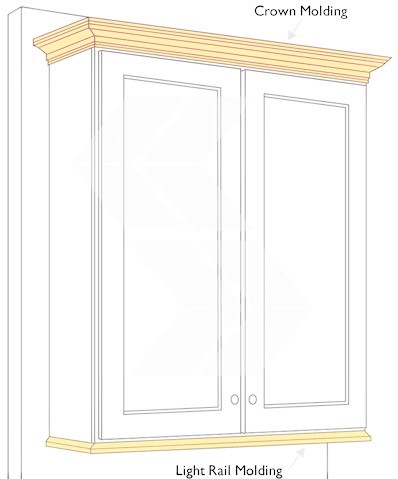
Continuing down, it is base molding that is used to establish decorative trim at the floor level. With the profiling edge face up, it provides a furniture-like feel by completing the lower sections of panel skins. A long continuous look is created by installing the molding along the lower sections of the cabinet sides to the toe recess. It may even be reversed – profiled edge down – and used in higher areas where wide molding is wanted.
Naturally, when installing cabinets you may run into continuity issues. Most commonly, you’ll be left with gaps or leftover space, especially when dealing with a run of cabinets. That’s where fillers come in. They are meant to be cut to size. Used vertically, they provide additional space between the wall and a cabinet. Sold in 3” and 6” widths they are perfect to close openings and gaps when a dimension of the cabinet falls short of the wall dimension. They are most often used vertically at the side of a cabinet although you may see them doubled (stacked) for trim or crown molding horizontally above the cabinets as well.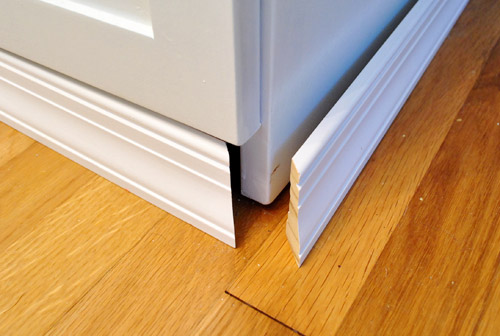
Naturally, the underneath of the cabinet must be protected, too. You need a recessed area for your feet so that you can stand close to the countertop. The toe kick stretcher attached to the cabinet is typically the same material left unfinished. After the cabinet is installed a finished toe kick is applied to the unfinished area. Typically toe kicks are 96” long, field cut, and positioned to provide a continuous appearance.
Any uneven gaps or raw edges may be covered by a thin piece of finished trim known as scribe molding. It’s used after installation when the unwanted spaces become apparent. It is intentionally flexible so that it may follow slight curvatures as it runs against walls, floors, or ceilings. Most of the time, it is used wherever the edges of their cabinet come in to contact with an uneven surface. Scribe molding is available in 96” lengths and must be field cut to size as needed.
Finally, corner molding is also used to cover gaps. In such instances its where two panels meet at a 90 degree angle. For instance, outside corner molding caps the raw edge of the material that is visible on an exterior corner. Inside corner molding covers any gaps where two pieces meet at an interior corner. They are best used on exposed areas such as the backs of cabinets on an island.
And there you have it, the many purposes of molding. Cabinets would miss more than a touch of elegance and décor without it.

